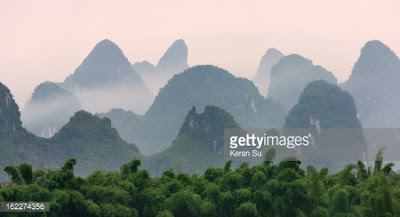
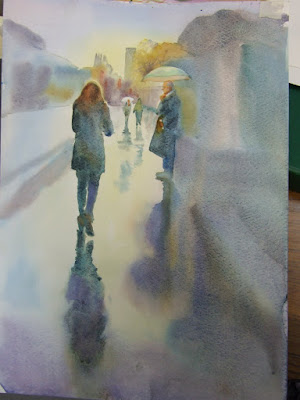
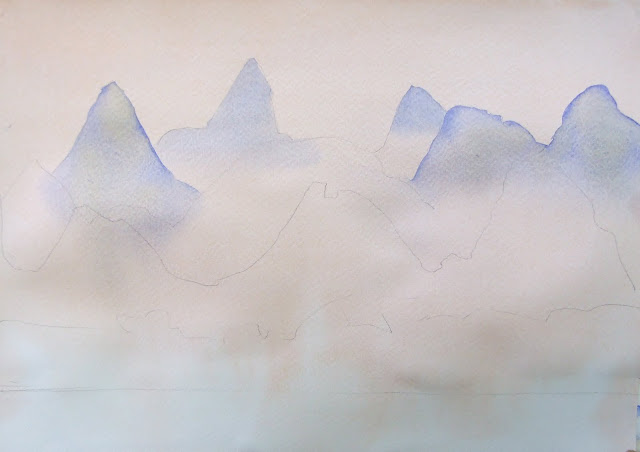
This week in beginners we started to add pigment to our mountains, we explored why it is important to be able to use pale and intense / dark paint applications in paintings, see the painting below, it has both pale and dark within it, so we have chosen to do a painting with mountain ranges in it which are pale in the background and get increasingly darker towards the foreground.


We explored how to add more pigment to flat washes by doing squares of washes ranging from pale to dark by adding more pigment to each wash.
Then we explored how to mix 3 colours together to get increasingly more neutral, the reason for this exercise is to demonstrate what happens when we push the paint around the paper as opposed to allowing the pigment to mix itself and to note these effects, one is not right and another wrong, but we just need to know how to get the effect we are after, column 1 was not pushing the paints together at all, and the result was a mix of mostly pure colour mixing on it's own giving a fresher feel, the more we pushed the pigment around, the more neutral it became ( muddy ), the steet scene above is an example of colours which have bee partially mixed in the pallet, but have been mostly allowed to mix themselves on the paper.
Some artists pre mix all their colours in the pallet, I choose not to for the above reasons, and also because I want to control the pigment to water ratio of each wash, which allows me to make sure the paint doesn't travel too far on the paper if I go in with a dryer brush, if that is required, which is impossible if the paint is pre mixed to a particular consistency.
We painted the most distant hills first with a pale blue, making sure to paint a clear wash 1st and continue this a long way down the painting, some of found that their clear wash didn't go far enough down the painting and their pigment hit the dry paper causing a water mark which would be visible in consequent washes.

After the furthest hills had dried, we painted the 2nd furthest hills slightly darker blue with a hint of yellow, to neutralise the blue and give it a lightly greenish tinge, making sure to avoid hard edges underneath by having a deep enough clear wash.
 |
| This week, we added consecutive layers over the top of the previous washes getting incrementally darker, and making each layer slightly greener by adding a little more yellow. |
We made sure to start with a clear wash from the top of the hills to the bottom line with each hill wash, to avoid a hard line forming too high up the painting, then being visible through the translucent wash of the next set of hills, we discovered that the pigment in our previous wash didn't move as it had dried and adhered to the paper.
Note a little trick on my demonstration, I left a pool of pigment at the bottom, and you can see a back run which is formed by the pigment being sucked uphill by the dryer pigment, this is something usually to be avoided, but on this occasion it can suggest vegetation of foliage.
Please bring this with you next week. : )

No comments:
Post a Comment